Fresh garlic from your garden is hard to beat, and now is the time to get it started for next year. Let’s look at a few tips for a successful garlic crop using science and some practical gardening knowledge.
We should always try to get the best variety for local conditions. Garlic includes two major groups, “hardneck” and “softneck.” Both are good and can be grown in Vermont, but most people favor hardneck for its hardiness and great flavor. Softneck garlic stores well and is easy to grow.
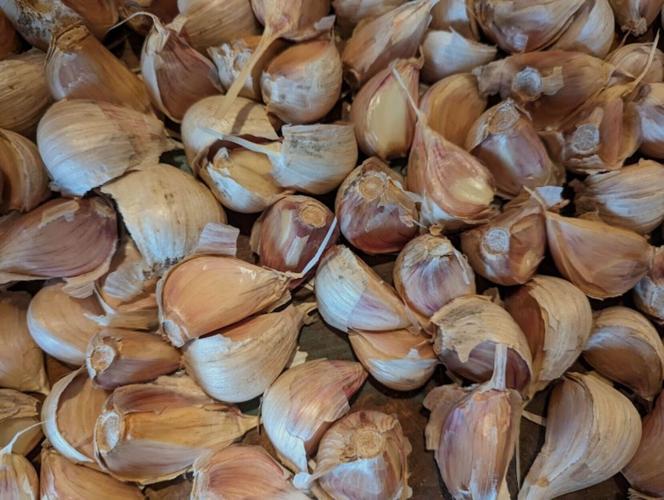
Garlic is propagated from the cloves, so once you have a variety that does well, you can stay with it by keeping some of your biggest bulbs to plant for the next year. A good rule of thumb is that a pound of garlic bulbs (about 10) will have about 50 cloves.
Bigger cloves produce bigger, more vigorous plants. Unfortunately, most supermarket garlic has been treated with an anti-growth chemical so isn’t good for planting. Source your seed garlic locally, and then save your own each year.
Whether you purchased seed garlic or saved some of your own, mid-October until late-November is the time to plant, depending on the weather. You can plant garlic until the soil starts to freeze or is covered with snow.
What’s important is that the bulbs get just enough time to begin growing roots but not enough time to send up a shoot that gets frozen and dies back. This gives the garlic a necessary head start in early spring.
Garlic and other plants that are part of the Allium family (like onions and leeks) are heavy feeders so need deep, fertile, well-drained soils. A soil pH of 6 to 7 is ideal.
Since garlic is an early grower, it’s best to put essential nutrients in the soil when planting. My practice is to apply a layer of compost (1 to 2 inches deep) over the bed surface if fertility is needed. A soil test should give you a sense of what nutrients might be needed. No need to work the compost in as nature will take care of that over the winter and create rich organic matter that garlic needs.
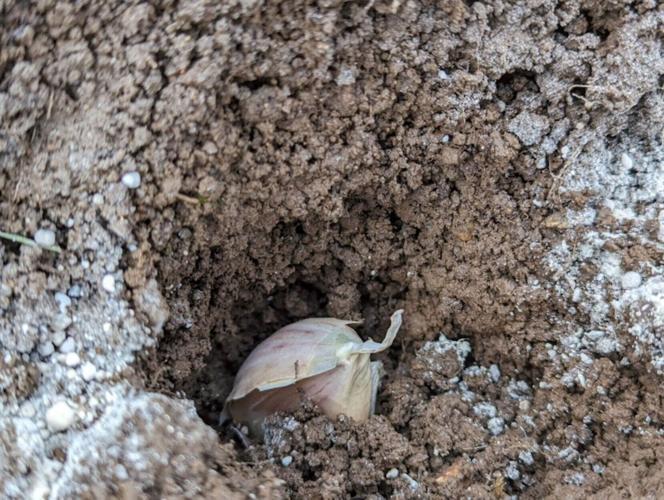
I plant a double row spaced a foot apart in raised beds by digging two parallel trenches to a depth of 4 to 5 inches. Plant your cloves, pointy end up and the flat, root-end down (yes, it matters) spaced 6 inches apart. Cover the planted trench with soil and gently tamp it down. The top of each clove should be about 1 to 2 inches below the surface when covered.
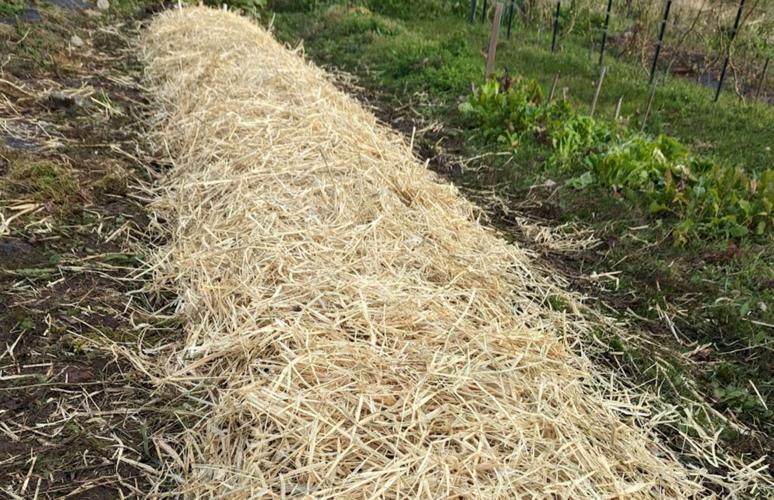
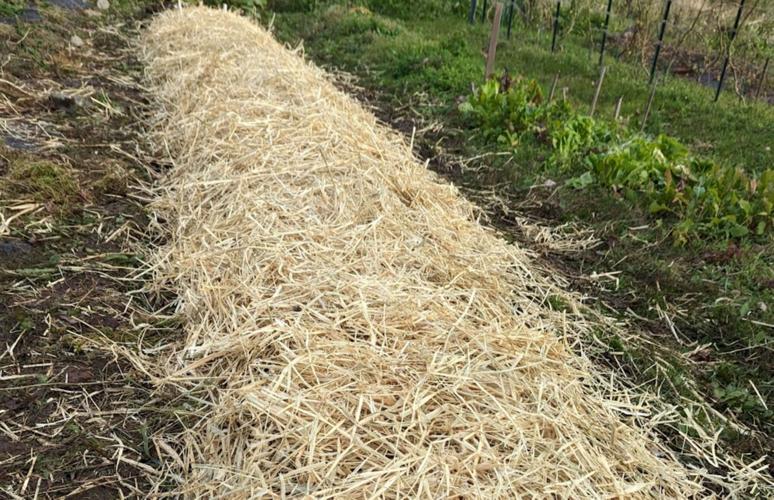
Be sure you mark the ends of each row. Finally, cover your garlic bed with about 4 to 6 inches of straw mulch, very gently tamped down so fall winds don’t blow it away. The straw is very important to prevent freezing and heaving of the cloves during winter, plus it will suppress spring weeds and keep the young plants moist during early summer growth.
There is great personal satisfaction in getting your garlic planted. It’s a wonderful feeling knowing that your first garden crop of the next year is sown and already started when the first snows are falling.
Jim Corven is a UVM Extension master gardener from Mount Holly.


